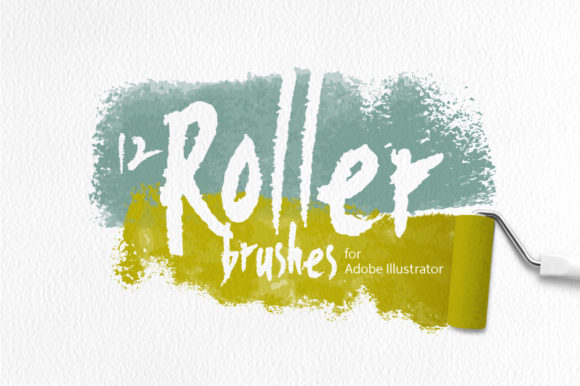
Unlocking Texture: A Practical Guide to Roller Brushes for Illustrator
Digital design often suffers from a sterile, overly polished look. When every line is perfectly smooth and every gradient is mathematically precise, the final image can feel cold and disconnected from human touch. This is where Roller Brushes for Illustrator become an essential tool in your creative arsenal. Based on real watercolor brush strokes, this set of 12 assorted art brushes injects organic imperfection into your vector workflows. Whether you are a seasoned professional creating high-end branding or a hobbyist designing a personal blog header, understanding how to leverage these tools correctly can dramatically elevate the quality of your work.
The core appeal of this specific collection lies in its simplicity and versatility. Unlike many modern brush packs that rely heavily on complex transparency settings, blending modes, or raster effects, these brushes are built on a foundation of pure vector geometry. They utilize four transparent gradations of a stroke color to mimic the natural flow of ink or paint. This architectural choice means they are compatible with Adobe Illustrator 10 and higher, ensuring longevity and stability across different software versions. However, simply downloading the assets is not enough; knowing how to integrate them without compromising your file's integrity is where many designers stumble.
Avoiding the Trap of Over-Complexity
One of the most common mistakes designers make when seeking texture is gravitating toward brushes that rely on heavy raster effects or opaque overlays. While these can look impressive in a static preview, they often cause significant issues during production. When you use brushes that depend on specific blending modes, you lose control over how the artwork interacts with underlying colors, especially when preparing files for print or exporting to different formats.
Roller Brushes for Illustrator avoid this pitfall entirely. Because they do not consist of any effects or blending modes, they remain fully editable and predictable. A frequent error occurs when a designer applies a textured brush to a complex illustration and later realizes they cannot change the global color scheme without manually editing hundreds of anchor points. With this set, the structure is clean. The advice here is simple: always prioritize brushes that maintain vector editability unless you have a specific, unchangeable reason to use raster-based textures. This approach saves hours of revision time and ensures your design remains scalable from a business card to a billboard.
Understanding File Formats and Workflow Efficiency
When acquiring digital assets, it is easy to overlook the importance of file format variety, assuming that one version fits all needs. This assumption can lead to workflow bottlenecks. For instance, receiving only an .AI file might seem sufficient, but what happens when you need to share a specific element with a web developer who does not have Illustrator? Or when you need to import a single stroke into a different vector application?
This collection addresses those potential friction points by providing a comprehensive suite of formats: a vector AI SC5 file, a vector EPS10 file, and a vector SVG file, all at 2000x2000px. Additionally, it includes 12 individual SVG files, allowing you to grab a single brush stroke without opening the main panel. A practical mistake to avoid is ignoring the SVG option. Many creators stick to the native Adobe formats out of habit, missing the opportunity to use these high-quality strokes in web design projects or other software ecosystems. By utilizing the individual SVG files, you can streamline your process, dragging and dropping specific textures directly into your layout tools without unnecessary bloat.
The Importance of Resolution in Previews and Mockups
Another area where designers often cut corners is in the preparation of presentation materials. You might create a stunning vector piece, but if your client mockups or portfolio previews are low-resolution, the perceived value of your work drops. It is not uncommon to see freelancers export their textured vector work as small, pixelated JPGs, inadvertently making their crisp vector lines look jagged and amateurish.
To counter this, take advantage of the high-resolution assets included in this package. You receive a JPG file at 5000x5000px and a PNG on a transparent background at the same massive resolution. Use these for your presentations, social media posts, and client proofs. A better approach is to build your mockups using these high-res PNGs to showcase how the texture looks against various backgrounds before committing to the final vector composition. This not only communicates your vision more clearly but also demonstrates a level of professionalism that reassures clients of your attention to detail.
Maximizing Versatility Across Projects
There is a misconception that art brushes are solely for "artistic" illustrations, leading many marketers and business owners to ignore them for corporate or informational designs. This limits the potential of tools like Roller vector art brushes. In reality, these strokes are incredibly effective for creating subtle background elements, dividing sections in a newsletter, or adding a human touch to an otherwise rigid infographic.
Consider the application of these brushes in abstraction and background creation. Because the set offers 12 varied strokes, you can layer them to create unique patterns that serve as non-distracting backdrops for text. A common error is applying the brush at 100% opacity and full size, which can overwhelm the content. Instead, experiment with scaling the strokes down and adjusting the stroke weight to create a watermark effect. This adds depth to your design without sacrificing readability. For entrepreneurs and bloggers, this technique can help establish a distinct brand identity that feels handcrafted rather than templated.
Checking Compatibility Before You Commit
Before integrating any new asset into a long-term project, verification is key. While this set is suitable for Adobe Illustrator 10 and higher, it is always wise to test the brushes in your specific working environment. Some users mistakenly assume that because a file opens, it is optimized for their specific output method. Always check how the transparent gradations render when exported to PDF or when printed on different paper stocks.
The transparent nature of these strokes is a feature, not a bug, but it requires awareness. If you are printing on colored paper, the transparency will allow the paper color to show through, which can be a desirable effect or a disaster depending on your intent. The corrective action here is to always request a physical proof or simulate the paper color in your digital mockup using the provided high-res PNGs. This proactive step prevents costly reprints and ensures the final product matches your vision.
In conclusion, the value of Roller Brushes for Illustrator extends far beyond the immediate visual appeal of a watercolor stroke. It represents a shift towards cleaner, more efficient, and more versatile design practices. By avoiding the traps of over-complex effects, leveraging the full range of provided file formats, and thoughtfully applying these textures to diverse projects, you can enhance both the aesthetic quality and the functional reliability of your work. Whether you are refining a logo, crafting a social media campaign, or producing fine art prints, these tools offer a reliable bridge between digital precision and organic expression.